After completing the outdoor table my customer asked me about further work, I was shown a loft with no lighting, so couldn't take any before pictures. The loft was huge and the insulation, there was mountains of the stuff. Trying to measure up and see how easy or hard the job was going to be was a job in itself. We decided to spread the job out over several weekends agreeing a price beforehand and accepting it would take as long as it takes!

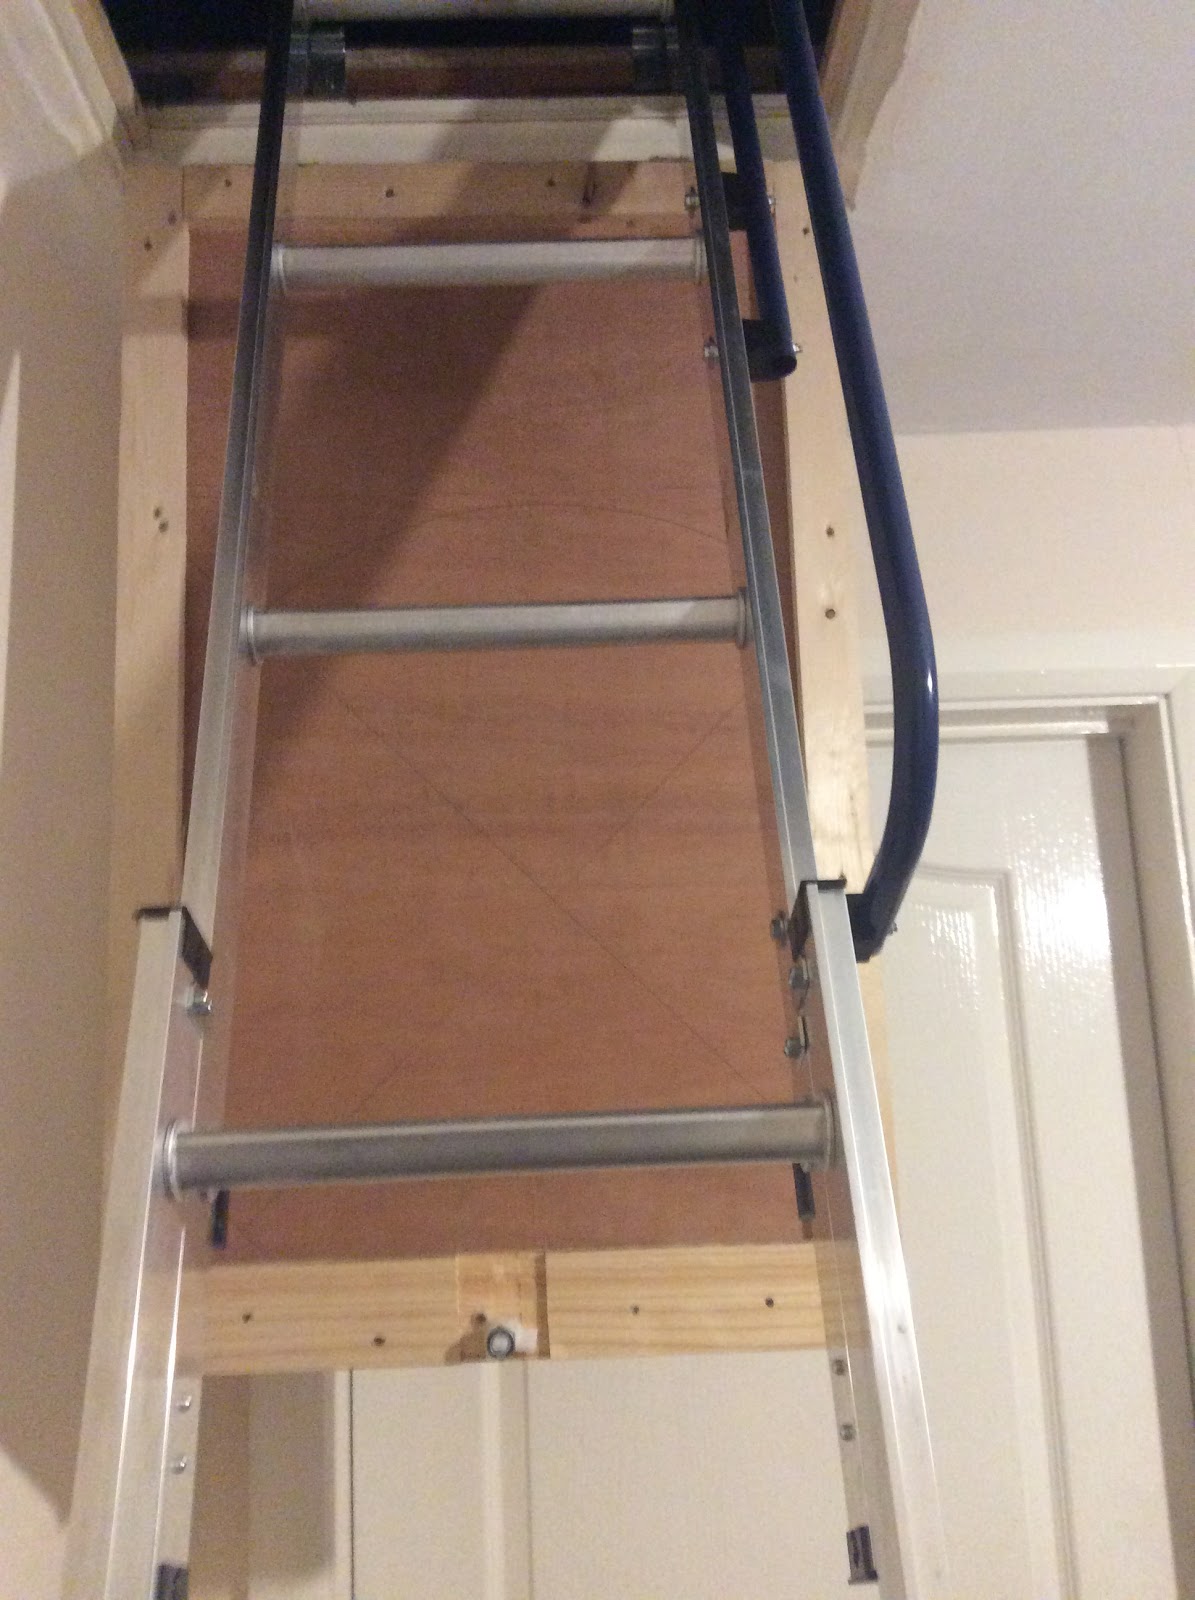
I brought in my friend an electrician who added 5 lights to the loft, finally I wasn't at risk of losing myself in the black abyss of insulation. I will add here, the dust in a loft can irritate your skin and in the insulation. Nothing a good dose of antihistamine wont prevent though. My customers helped me bag up excess insulation which was appreciated. The loft had a free standing telescopic ladder to get up and down so we ordered a loft ladder and I installed very quickly into the job. The previous loft hatch was too thin and heavy to work with the ladder as the hatch now needed to flip down and not sit in from above, I created a new loft hatch using small strips of pine and a thin sheet of plywood. Once complete I could safely move loft boards into the attic.

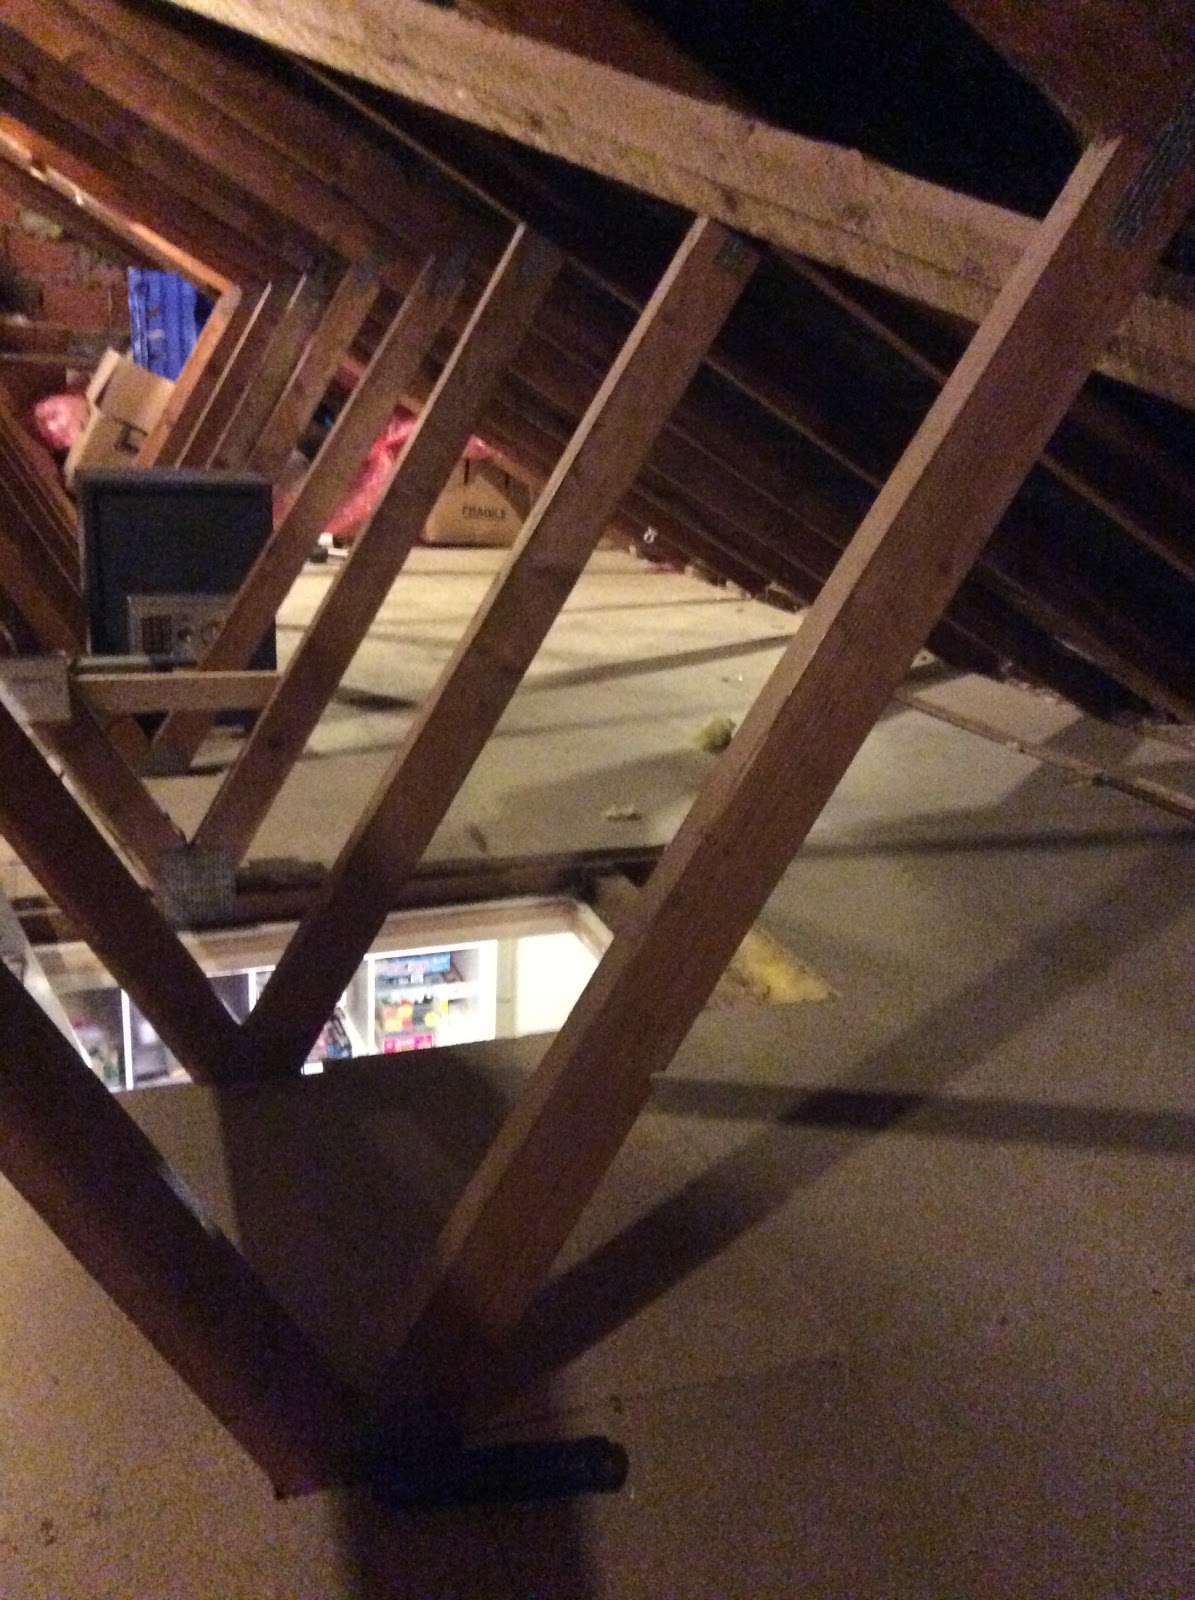
Where the beams stick out in Vs i measured and cut around them using a jigsaw,
TIP - attach further batons to the joists to support the boards around Vs as without they become weak and unstable.

I had set out to stagger the boards starting every two rows with a half board, however as mentioned above some decisions early on will effect you later on and spotting a potential problem down the line I changed my mind and reinforced with batons where needed.

TIP - Be EXTRA careful drilling your boards down when wires are present even if tucked into the joists, I have great attention to detail and I nearly was sorry. Feel under the board with your hand to work out how far the wires are into the board and mark it out in pencil so you know not to screw there.


Once the main bulk of the attic was complete, I moved onto the extension. the first thing I noticed was that the joists here were 3-4 inches higher then in the main attic meaning a higher floor. I boarded and realising that the way the Vs were positioned in the main attic that the extension could only be walked through two through three gaps in the Vs. So i created steps out of baton and spare wood to protect anyones ankles that might get caught in the gap.

Pic above without steps installed.
Now my customer has a great space and safe passage to access this space. The walls either end remain as brickwork though in the coming future I will return to board them up to tidy it off, install shelving and small cupboards along the smaller areas of the roof.
Loft boards come in packs of three and most are delivered free if bought in bulk, take care handling though as the tongues are easily damaged. I used 6 screws per board sitting into all joists the board touches drilled straight down and i chose wood screws that bit quickly into the wood because in some instances drilling into the boards where the roof is smallest its hard enough getting the angle to drill or even moving the drill. A spade drill bit will save you a lot of time dealing with wiring and if like this loft you come across many wires bring two drills as to save time changing from your screw drill bit to the spade. Many lofts are unused and often offer surprising space once completed, The loft above was 9m by 6m with the extension added which was 3m by 3m.
No comments:
Post a Comment